Build a Nuxt Content Blog and Deploy to Cloudflare Pages
Feb 7, 2026
TL;DR
轉職 Vue 前端後近半年意識到也該寫一個部落格,畢竟嘗試著將問題與決策闡述對於加深理解和思考很有幫助。一開始是在看到了 Josh Comeau 的網站才有的想法,他在文章提供了許多互動式的組件很容易方便讀者理解,我也認為在寫這種互動式組件範例的時候也會同時加深自己對於概念和實作的理解。
為了嘗試 Nuxt 和 SSR 所以選擇 Nuxt Content,Cloudflare pages 不像其他的平台需要付費,而且 Nuxt Content 官方文檔也有提供部署 Cloudflare pages 的說明文件,就很快簡單的決定了路線。
Nuxt Installation (Nuxt Content Doc)
先建立專案(create-nuxt CLI)npm create nuxt <project-name> 執行後會有幾個選項需要選擇:
Which template would you like to use? → content – Content-driven website因為是要用 Nuxt ContentWhich package manager would you like to use? → npm (current)選自己習慣的就好Initialize git repository? → Yes新專案所以順便 git 初始化,等等丟上 Github 讓 Cloudflare 可以連接Would you like to install any of the official modules? → Yes- @nuxt/ui (幾乎是 Nuxt 標配,加上我也沒碰過,所以想練習一下)
- @nuxt/icon(看會不會用 icon)
- 其他都可以之後再安裝,但我還選了 @nuxt/eslint & @nuxt/image
Do you want to install better-sqlite3 package? → Yes
Nuxt content config
這邊目前都暫時按照 Nuxt Content Doc 的步驟來。
- 成功建立專案後就可以在跟目錄底下建立
content.config.ts這是 Nuxt Content 主要的設定檔,用來定義如何組織、解析與管理內容的設定檔。content.config.tsimport { defineContentConfig, defineCollection } from '@nuxt/content' export default defineContentConfig({ collections: { content: defineCollection({ // Specify the type of content in this collection type: 'page', // Load every file inside the `content` directory source: '**/*.md' }) } })collections 底下的每個 collection 會對應到特定的內容目錄與結構,讓系統能夠統一索引、查詢與渲染這些內容,例如部落格文章或文件。
- 建立專案的第一個 Markdown Page
content/index.md
# My First Page Here is some content. - 建立 pages/index.vue 這會顯示你頁面的內容(也就是 /content 目錄裡對應的目錄與結構 )參考 Nuxt Content ContentRenderer Components
The
<ContentRenderer>component renders a document coming from a query withqueryCollection().pages/index.vue<script setup lang="ts"> const { data: home } = await useAsyncData(() => queryCollection('content').path('/').first() ) useSeoMeta({ title: home.value?.title, description: home.value?.description }) </script> <template> <ContentRenderer v-if="home" :value="home" /> <div v-else>Home not found</div> </template>
因為上面在content.config.ts的 collections 已經定義好 content 這個 collection,所以可以用queryCollection('content')取得。
Deploy to Cloudflare pages
Nuxt Content - Deploy Cloudflare Pages 寫了 Nuxt content 必需要連接 D1 database 才能正常運行。
Step1. Create D1 Database
打開 Cloudflare 在側邊欄找到 Storage & databases / D1 SQL Database → 新增 Database,名字取自己喜歡的就好
Step2. Add new config in nuxt.config.ts for deployment
在專案內添加設定
nuxt.config.ts
// https://nuxt.com/docs/api/configuration/nuxt-config
export default defineNuxtConfig({
  ...,
  content: {
    database: {
      type: 'd1',
      // It corresponed to Cloudflare pages variable, show it later.
      bindingName: 'DB',
    }
  },
  nitro: {
    preset: 'cloudflare_pages',
    prerender: {
      // Prevent trailing slash problem
      autoSubfolderIndex: false,
    }
  }
})
Step3. Create new Cloudflare pages application
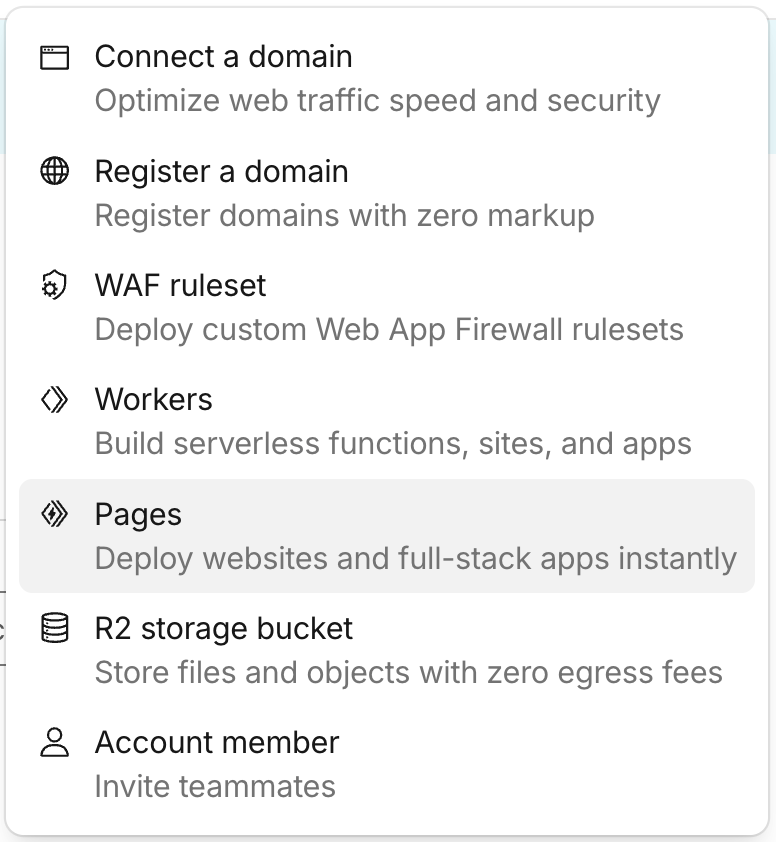
- 打開 Cloudflare 在最上方找到 +Add 按鈕選擇 Pages

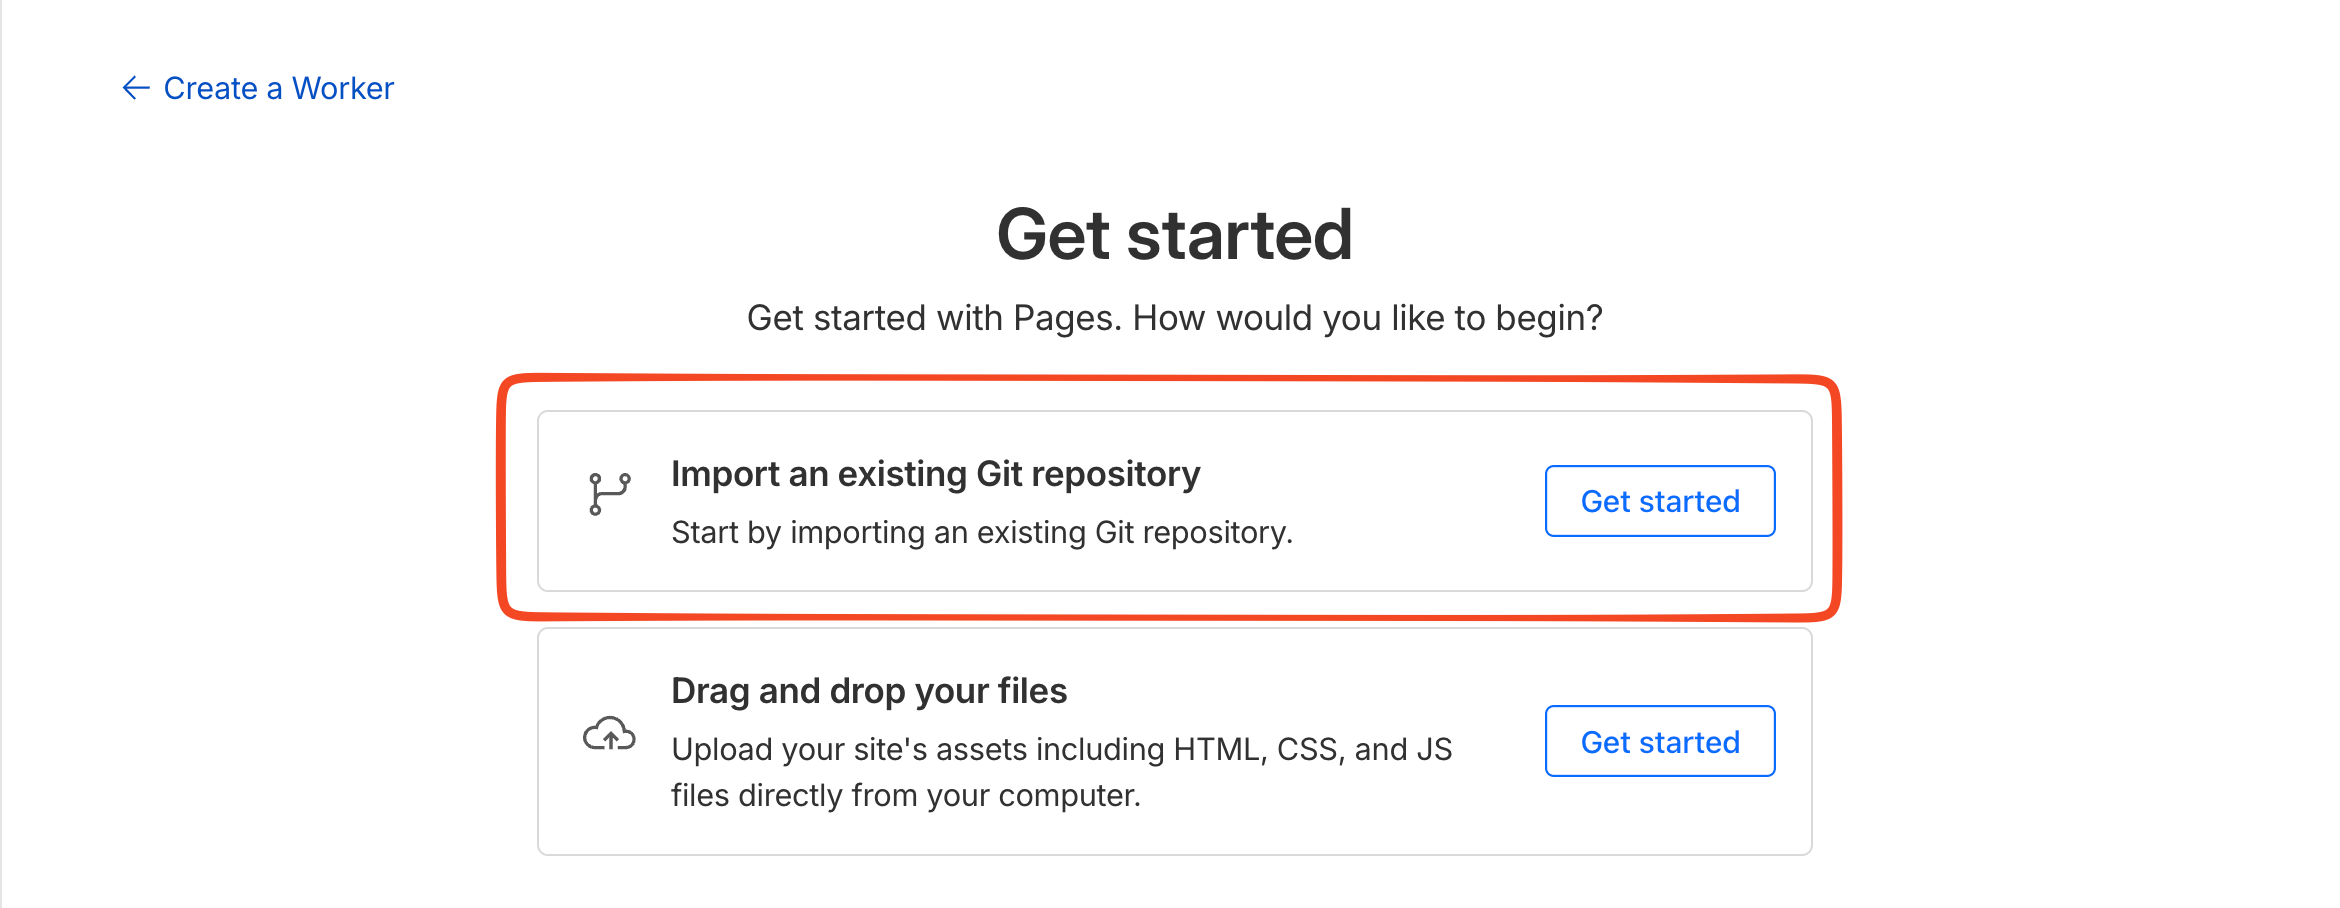
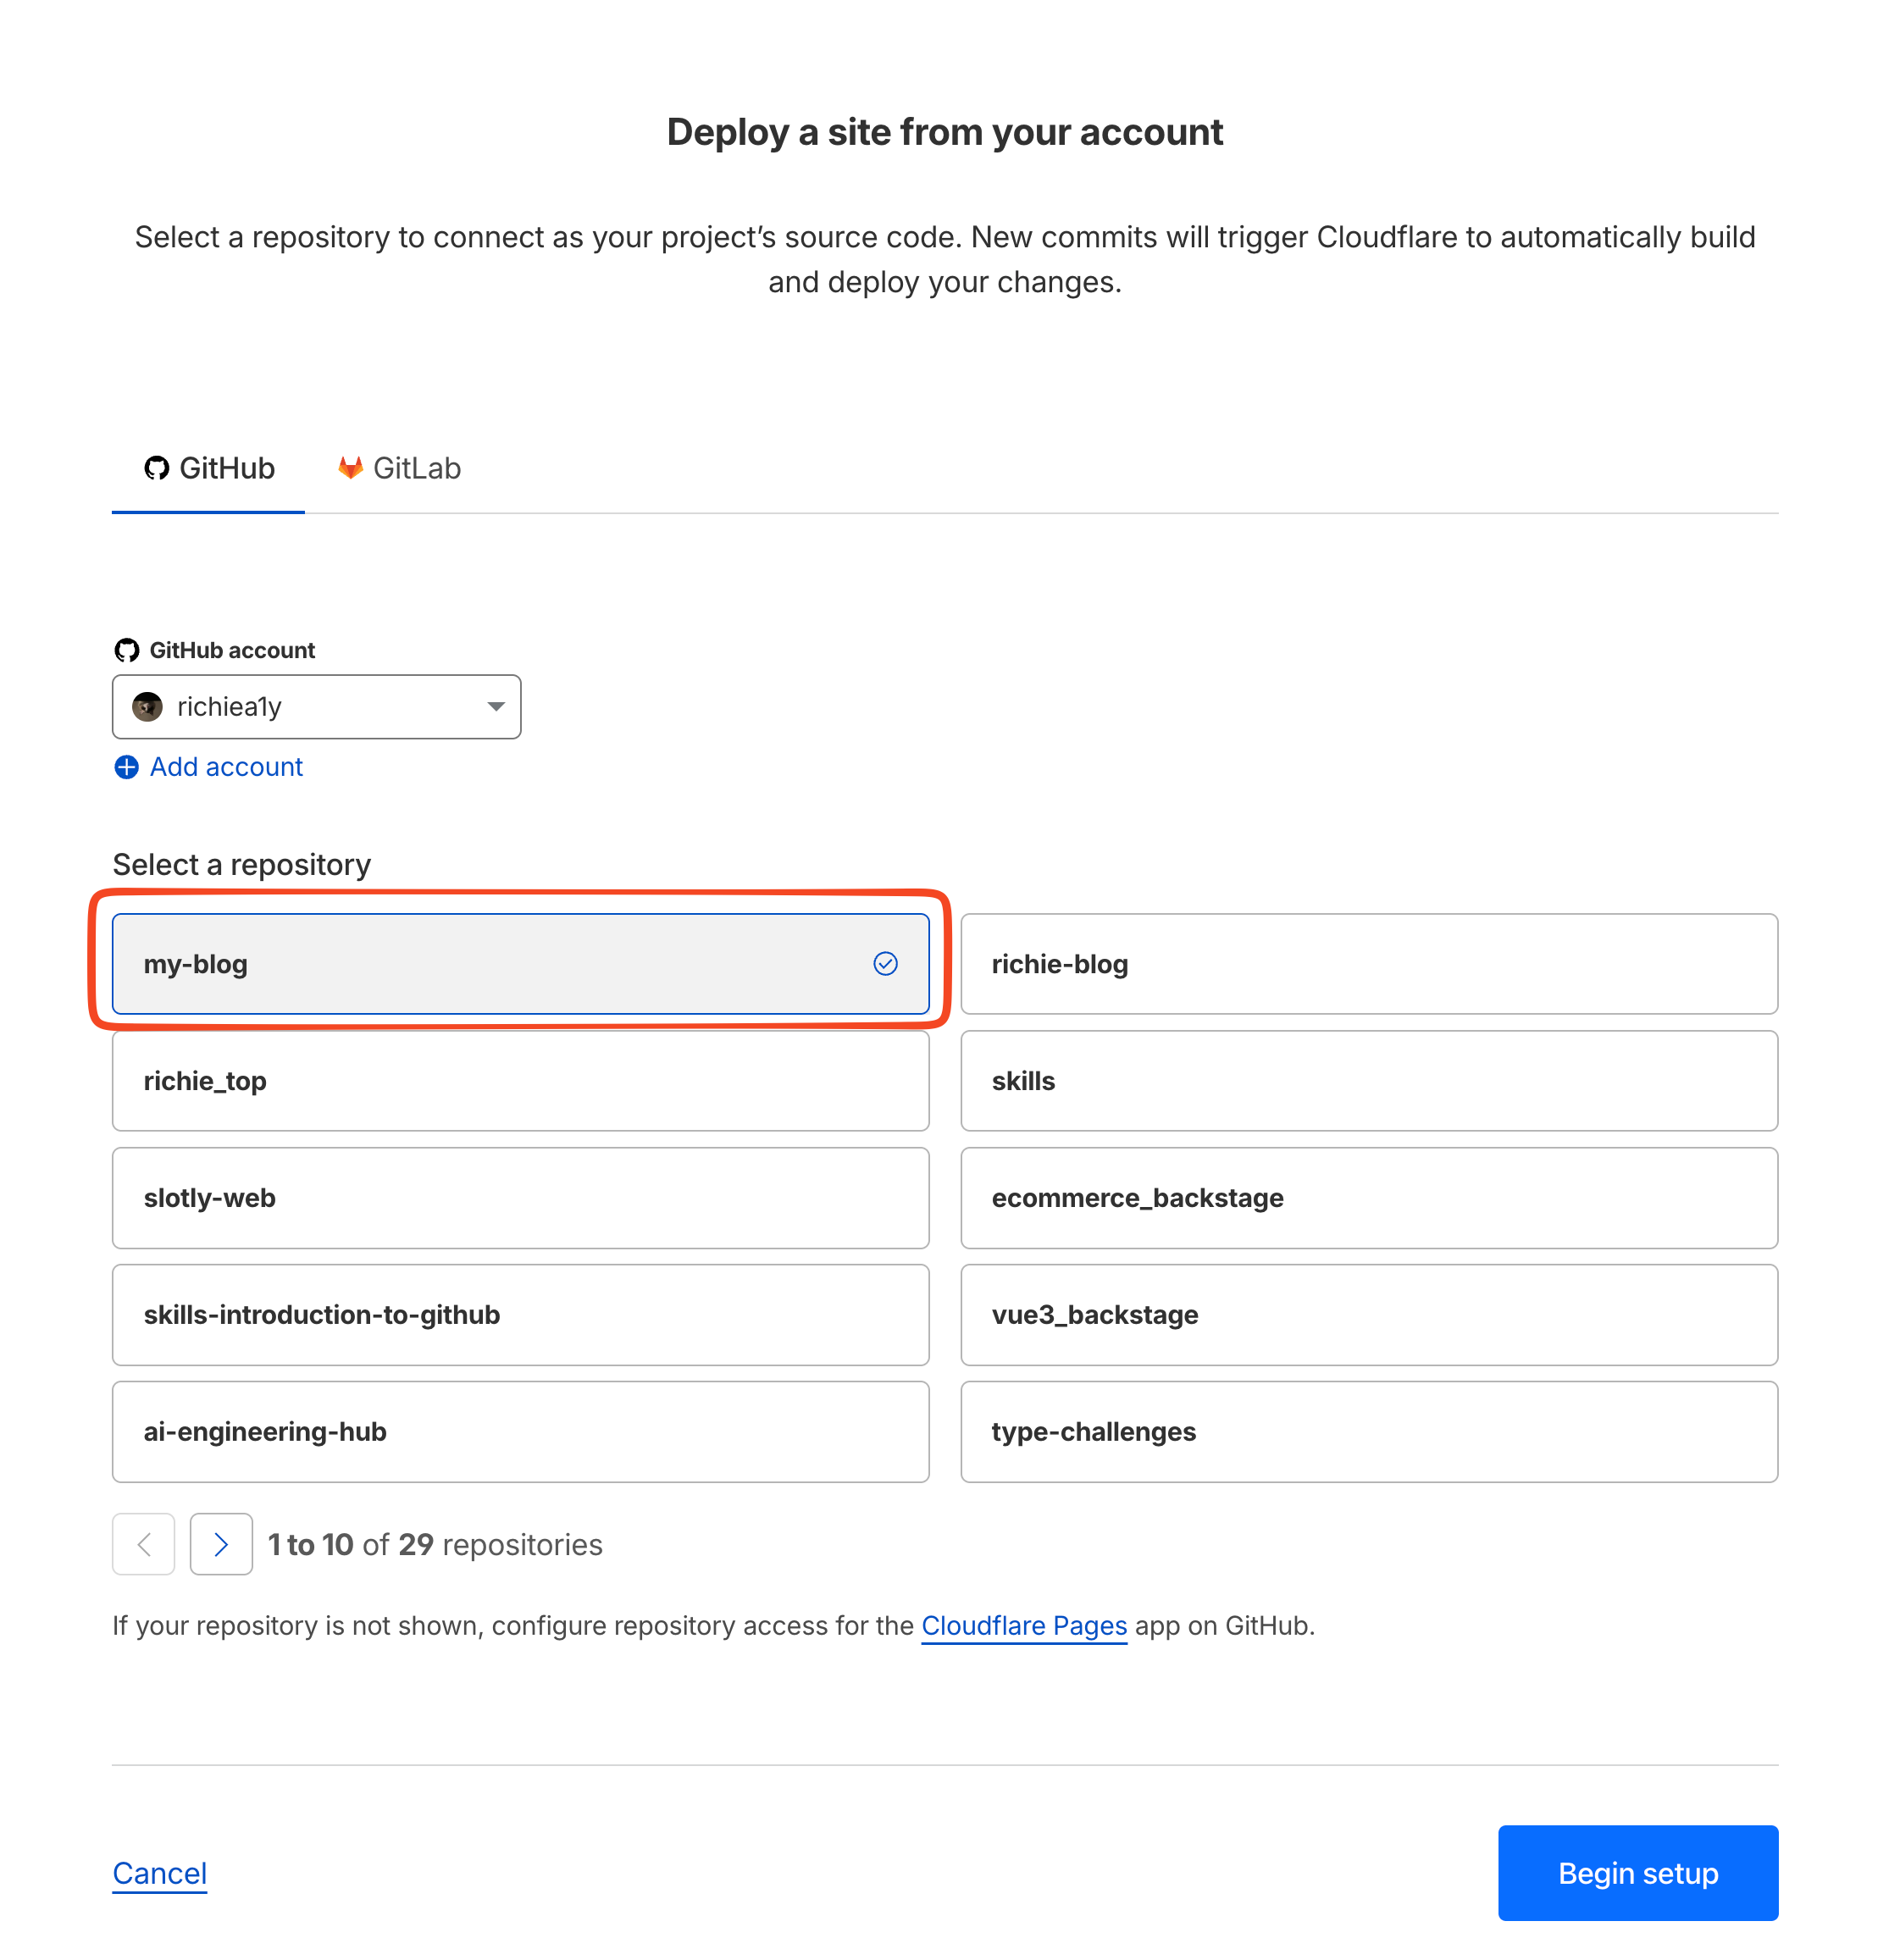
- 選擇第一個選項,然後直接選擇對應的專案
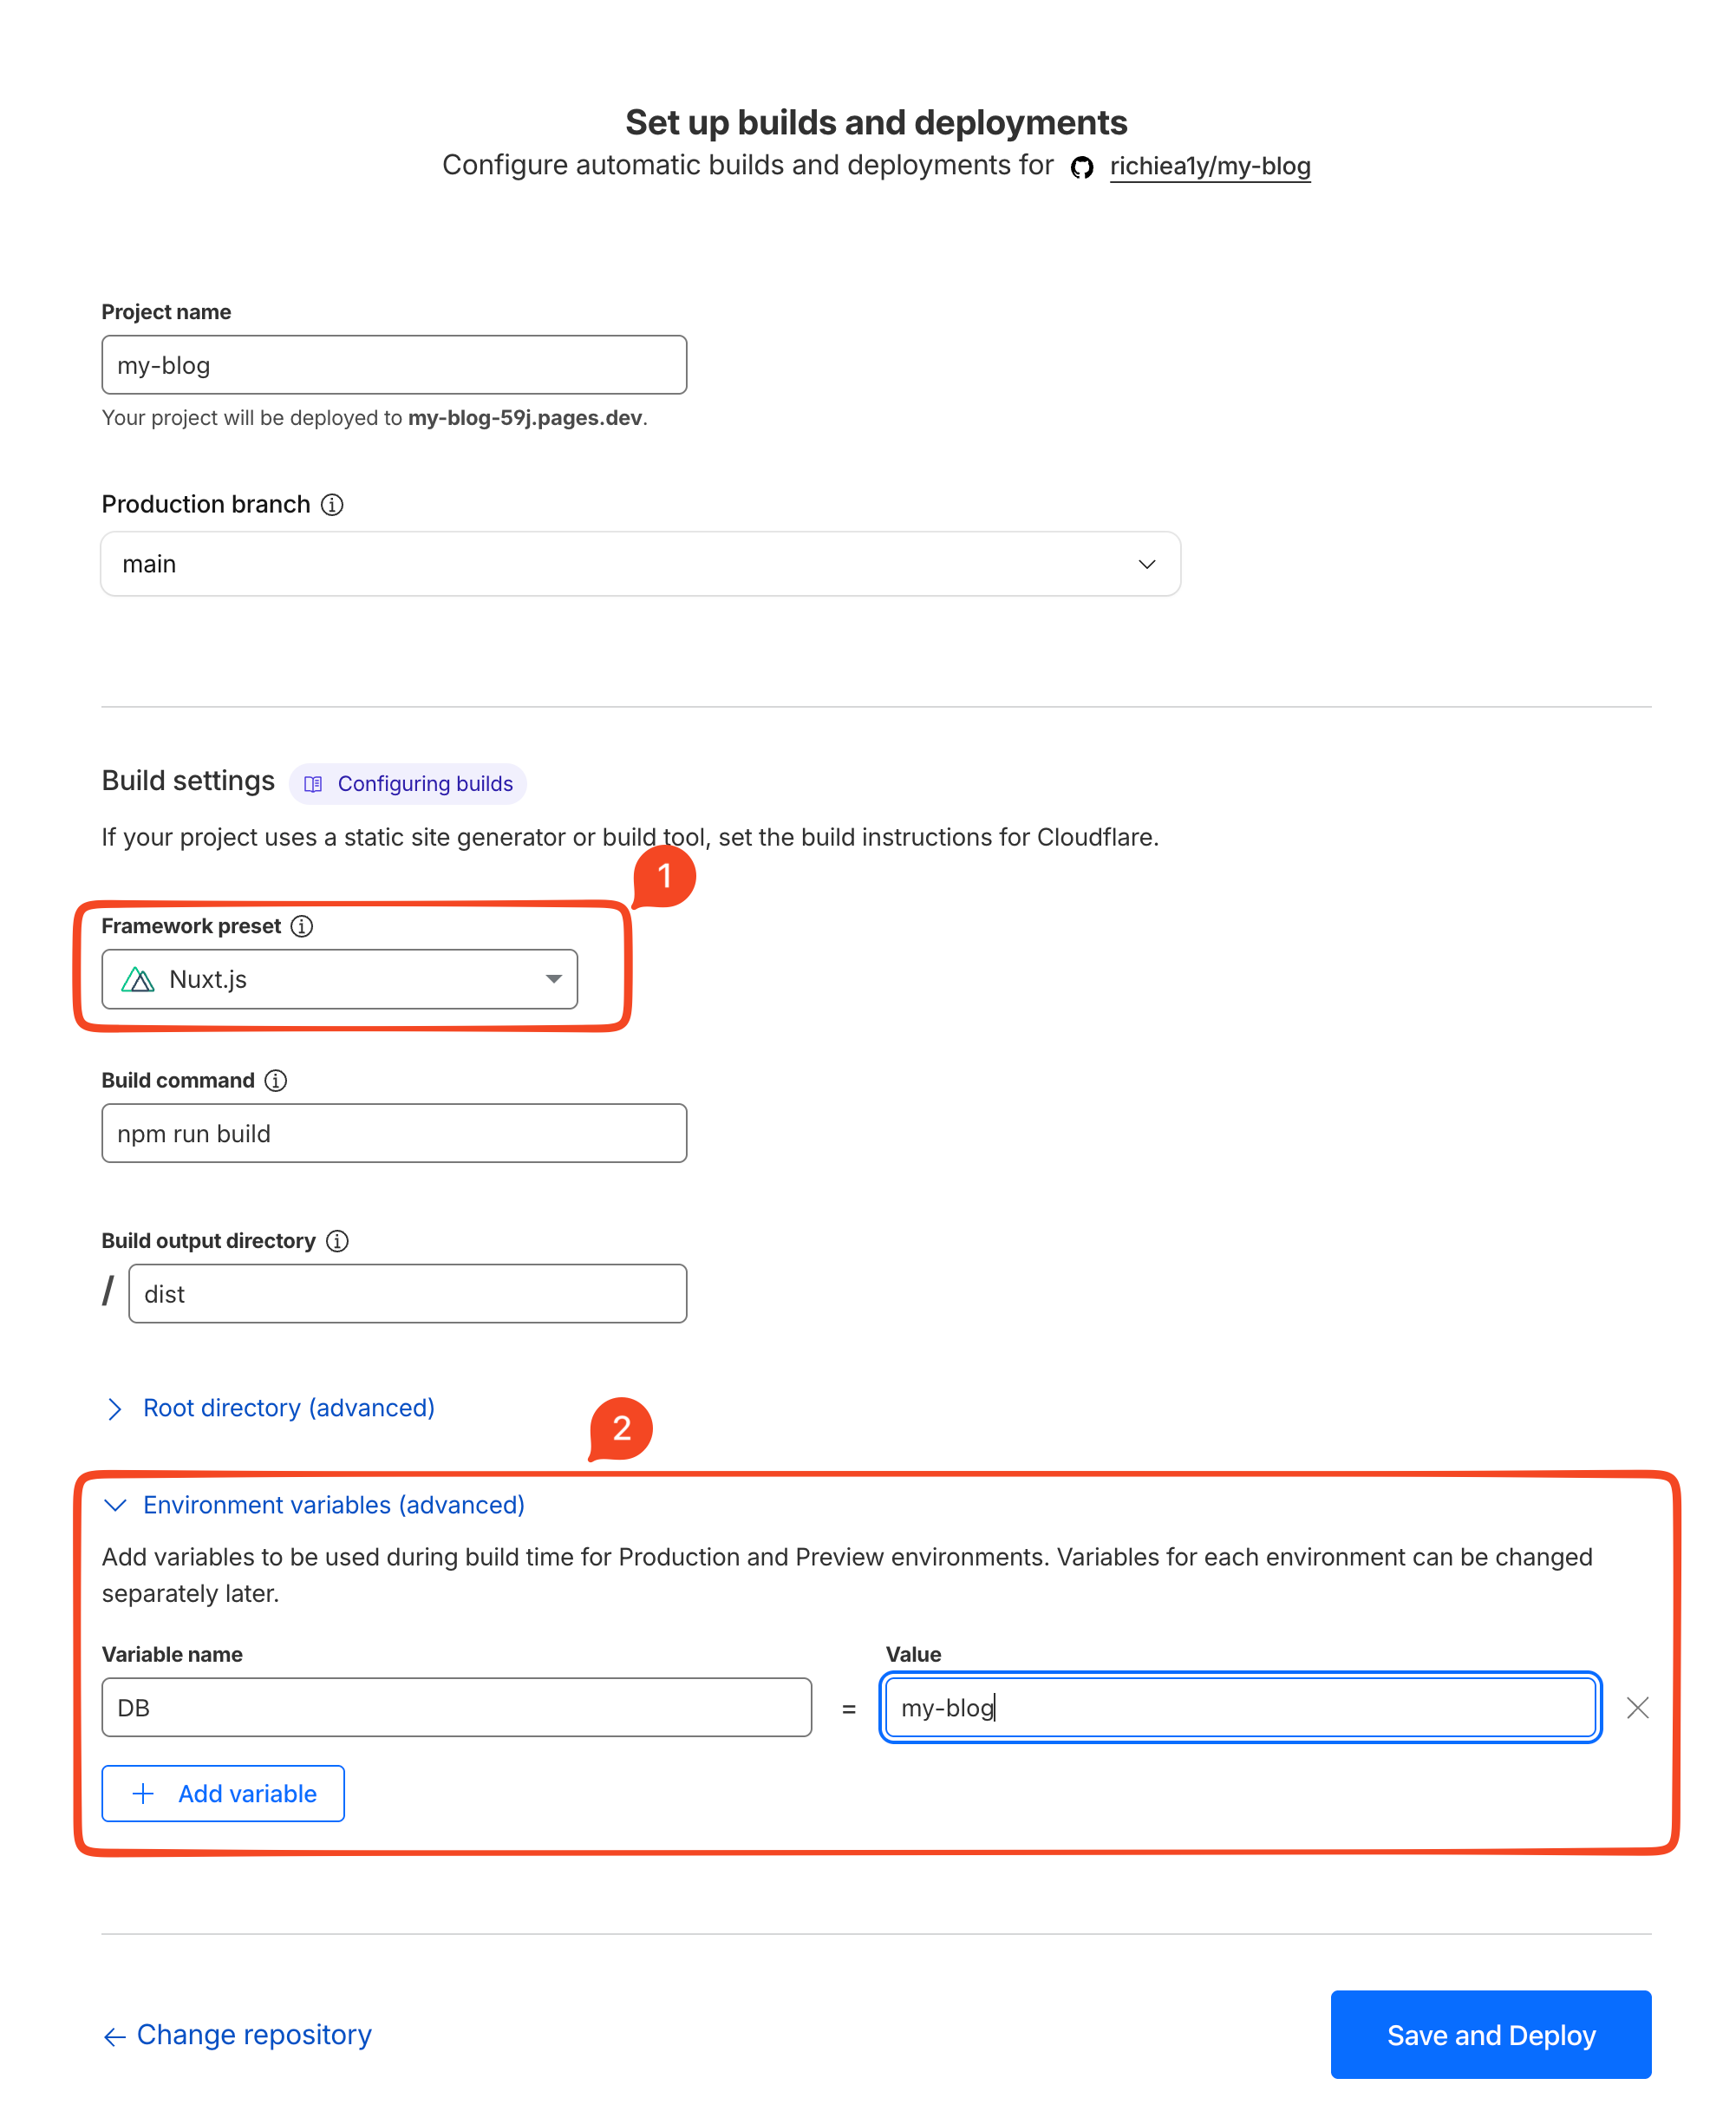
- 部署設定 Framework preset 選擇 Nuxt 然後新增變數,變數名稱就是我們剛剛在 nuxt.config.ts 寫的 bindingName: DB ,對應的值就是我們前面新增 D1 database 時取的名字
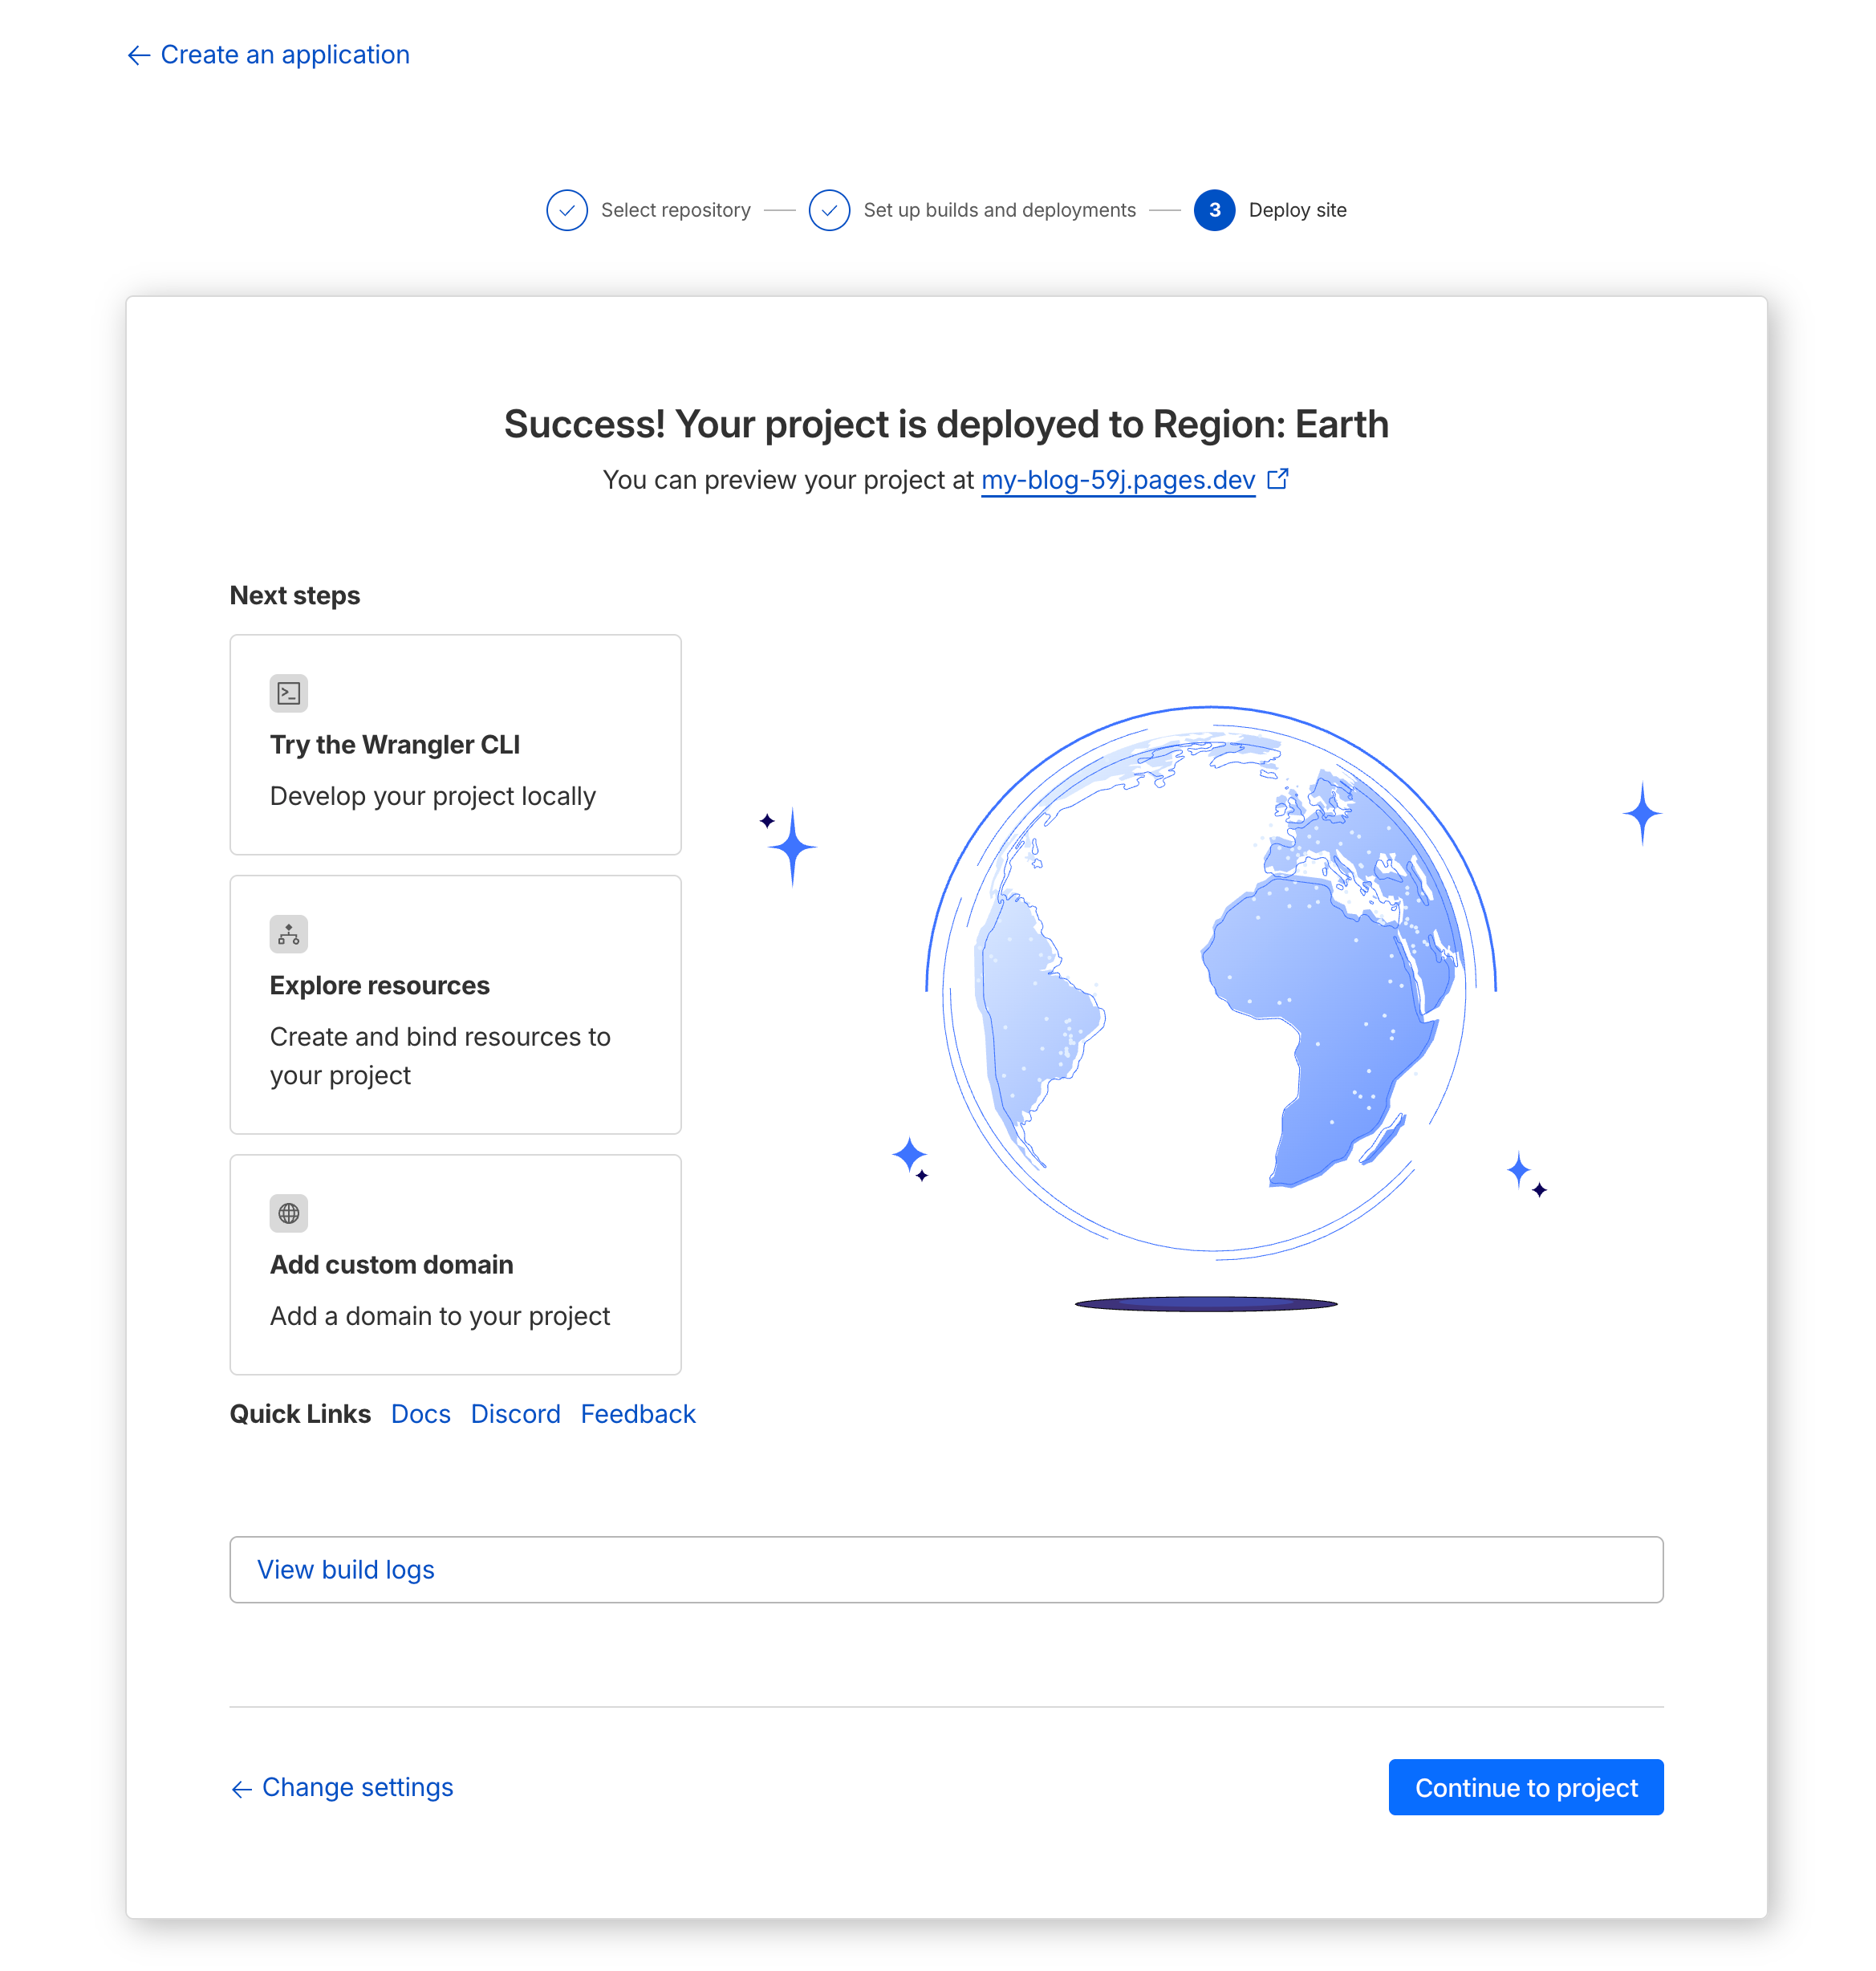
- 部署成功後就會變成以下的畫面,如果有已經購買網域的可以點選 Add custom domain 去設定成自己購買的網域